Handyman Alpharetta GA: 4 Quick Steps to Installing New Cabinet Hardware
So, you’ve been thinking about making some style changes to your kitchen or even doing a much larger home remodel. A big question you may be faced with is wether you should change your cabinet hardware.
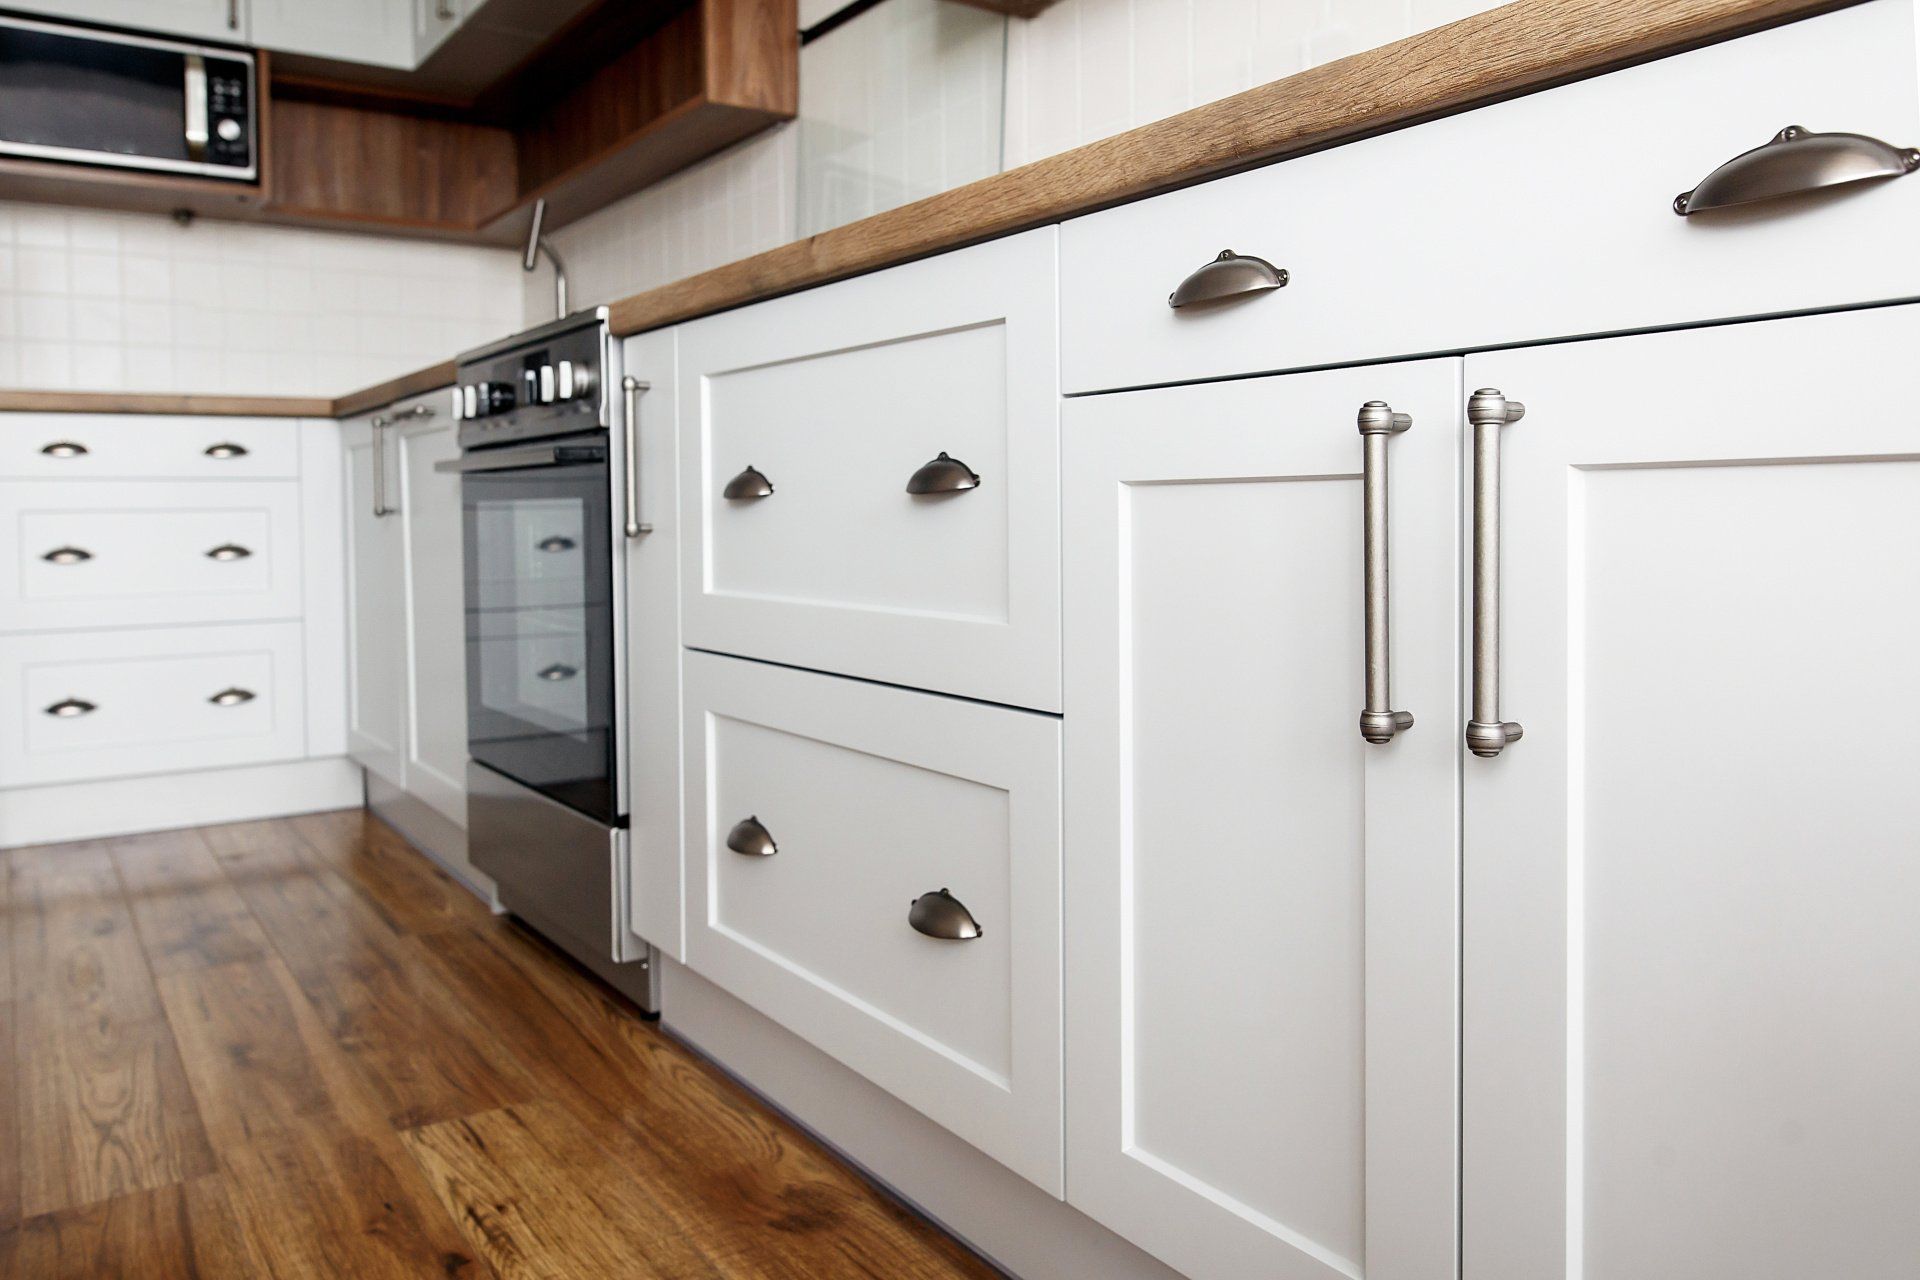
Installing cabinet hardware is an easy but important project. Think of it like putting the cherry on top of your brand-new kitchen makeover. Cabinet hardware is not the most important part of your kitchen, but you would certainly notice if it were missing.
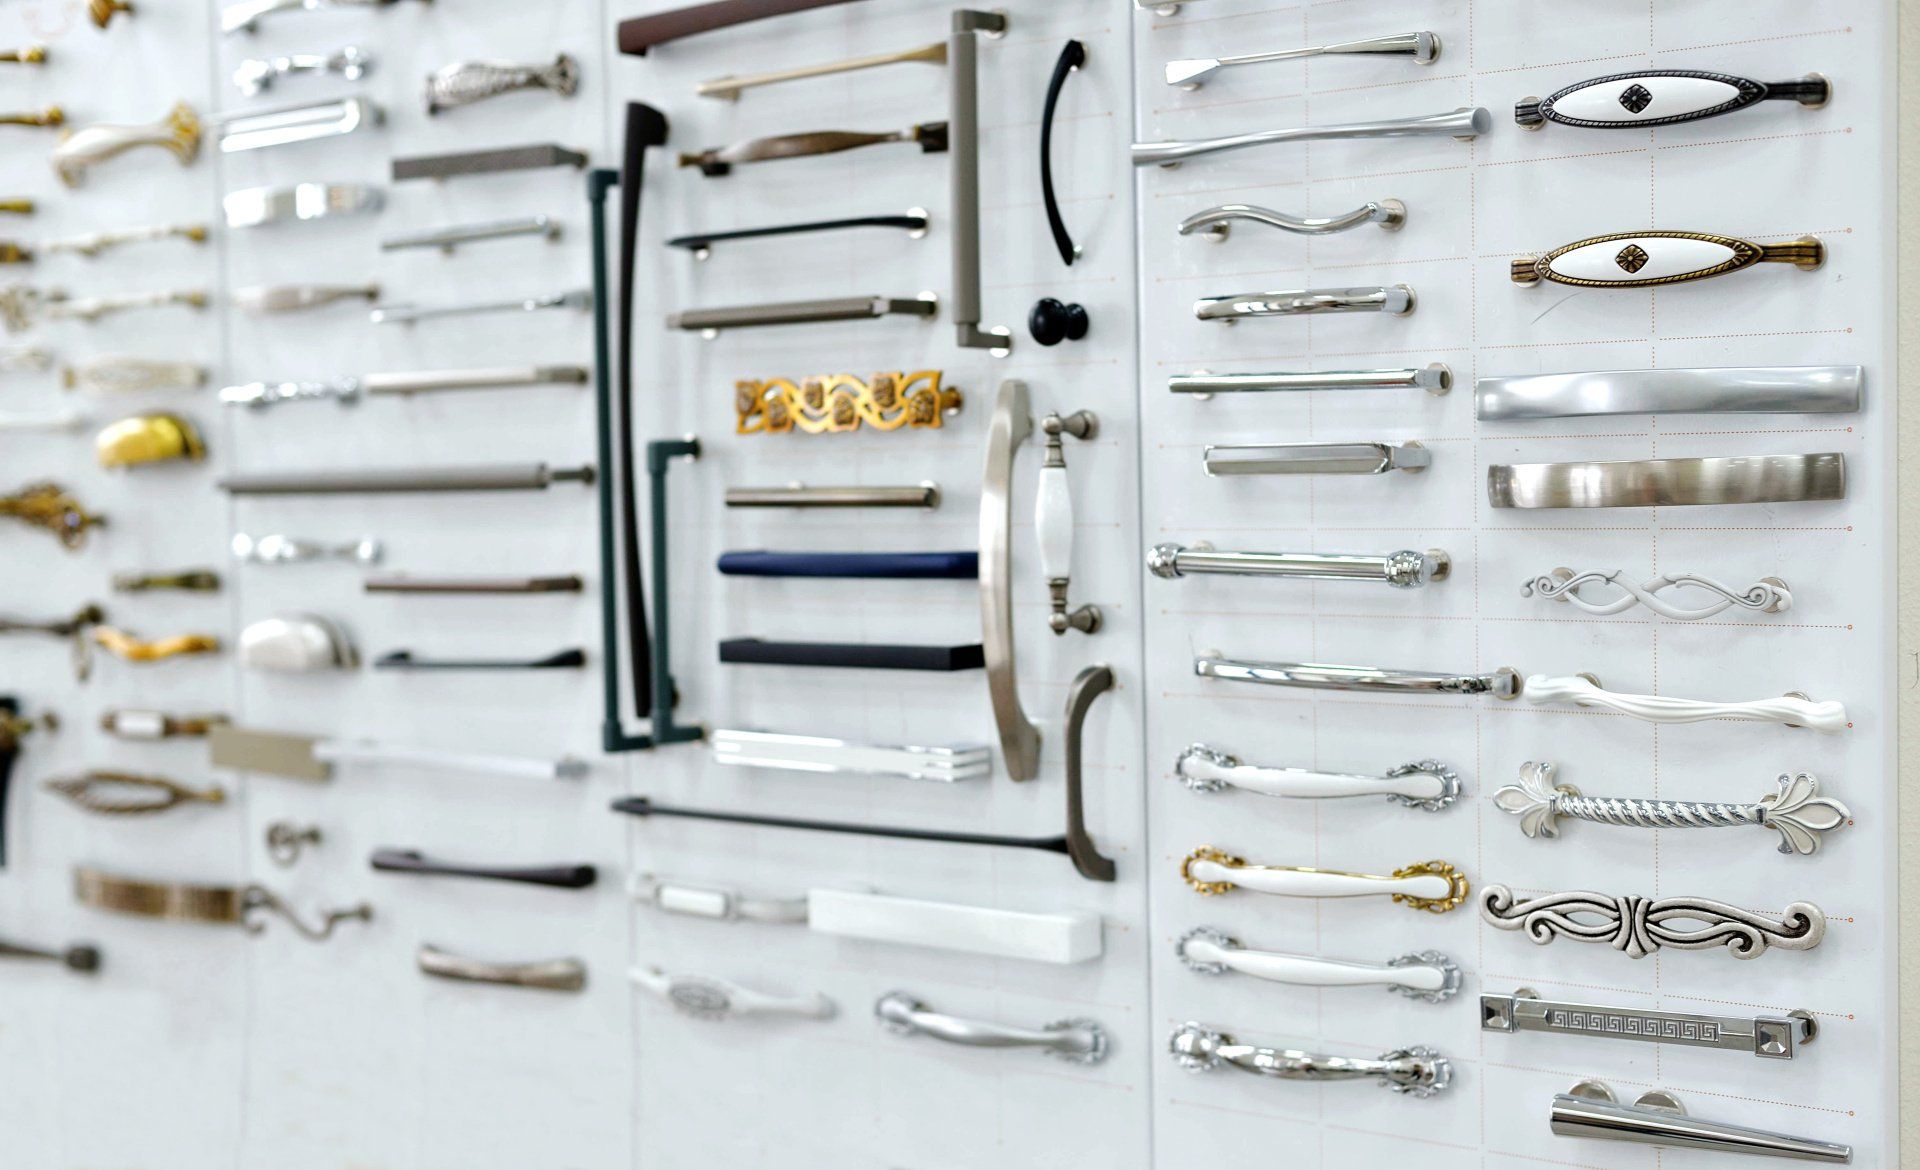
Buying Guide
When purchasing hardware for your kitchen, think practicality over style. While floral-shaped and shimmering knobs look intriguing, they are not ideal for hardworking spaces.
Shop for knobs and handles without sharp edges that can seriously hurt if they're run into. Simple metallics work best and are guaranteed to look great with any paint color for future cabinet makeovers.
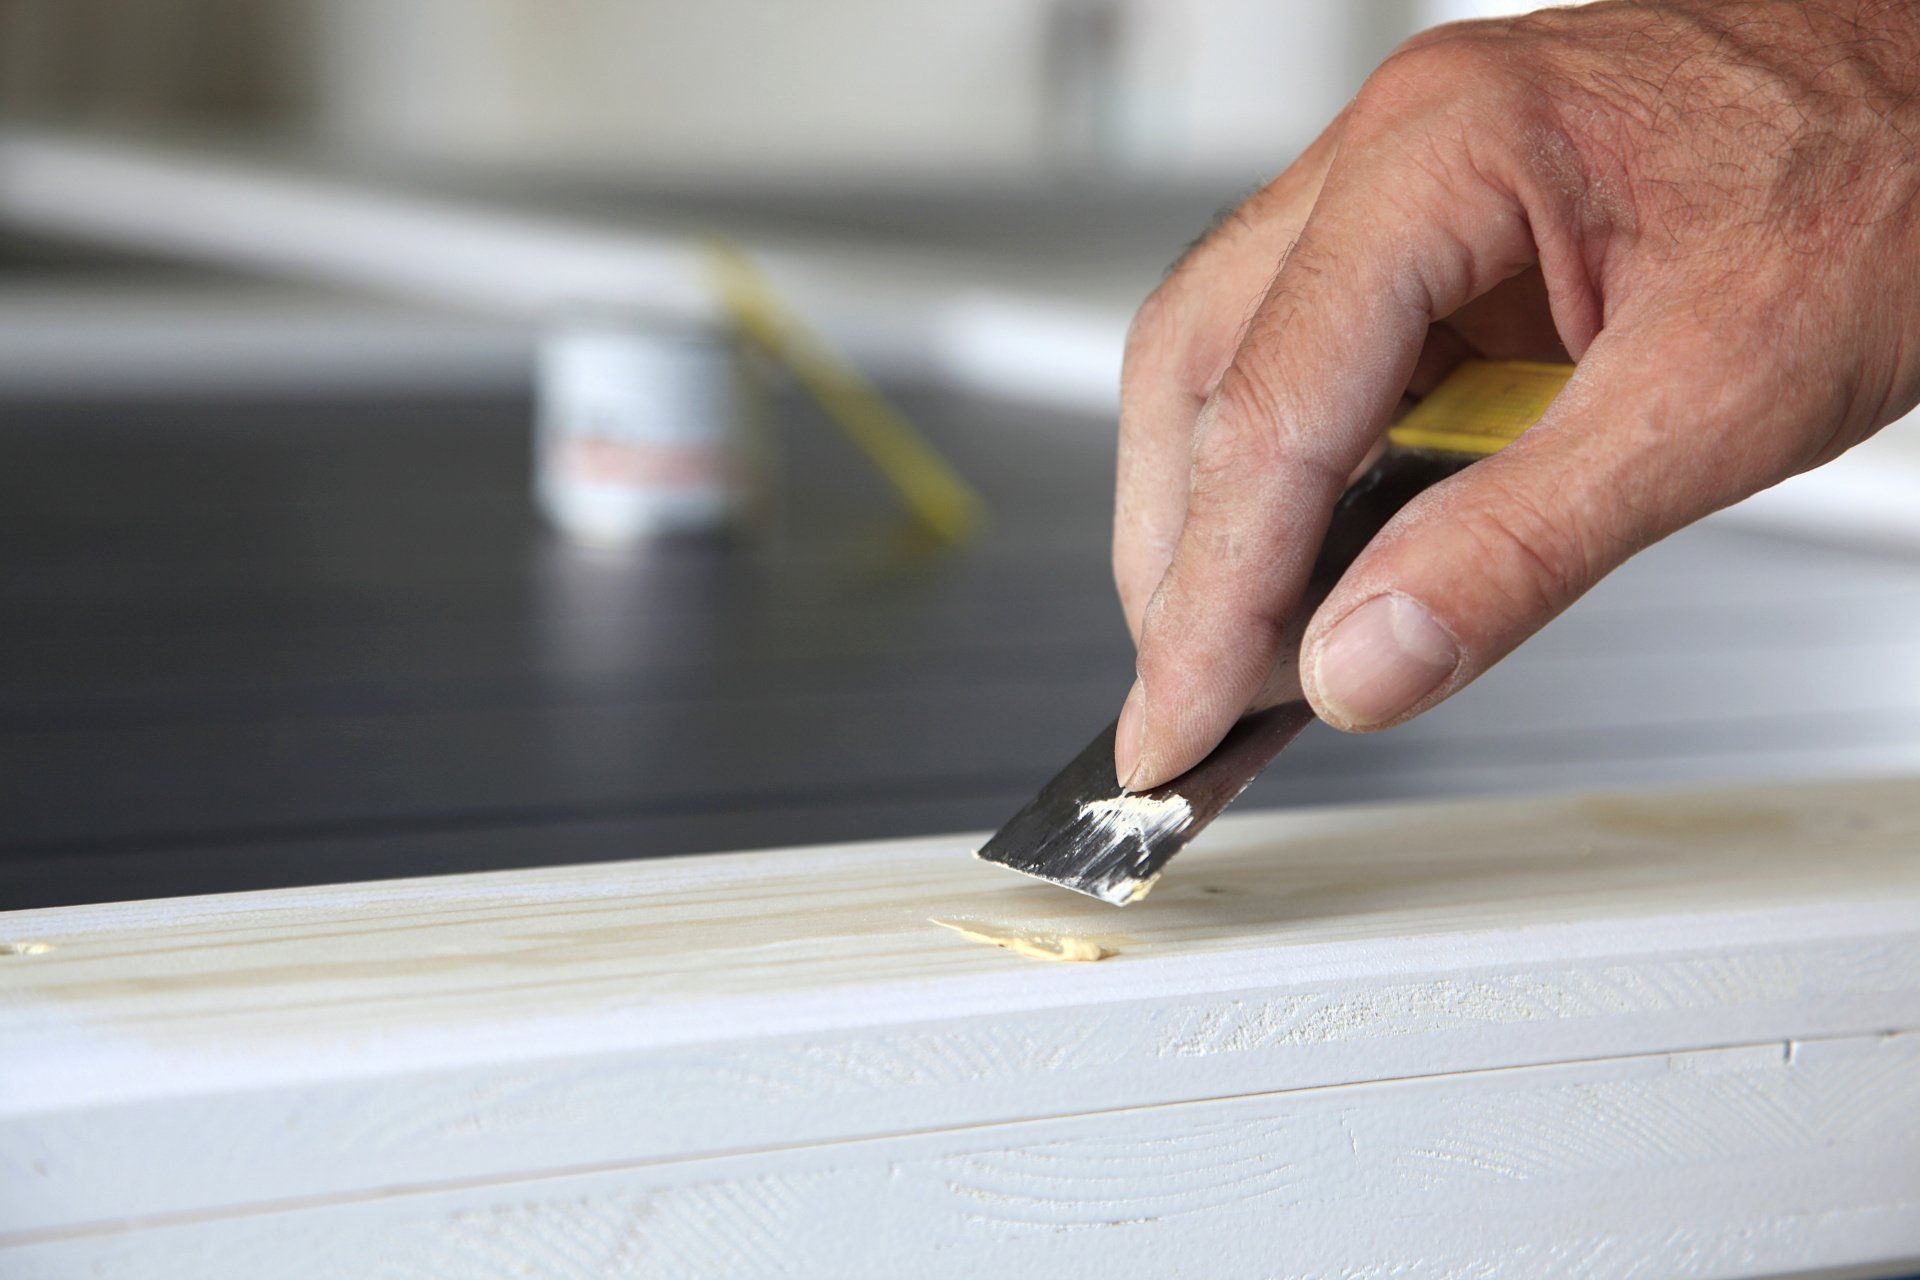
Step 1: Fill and Camouflage Screw Holes
First, remove the existing hardware by loosening the screw on the back of the door while holding the old hardware in place. Find a shade of wood-filling putty that best matches your cabinet.
To cover holes on wood grain, plan to buy three shades of putty—one that matches the lightest and darkest wood grains as well as one halfway between them.
Mix a pinch of each of the three shades together until you have a hue that's as close as possible to your original cabinet.
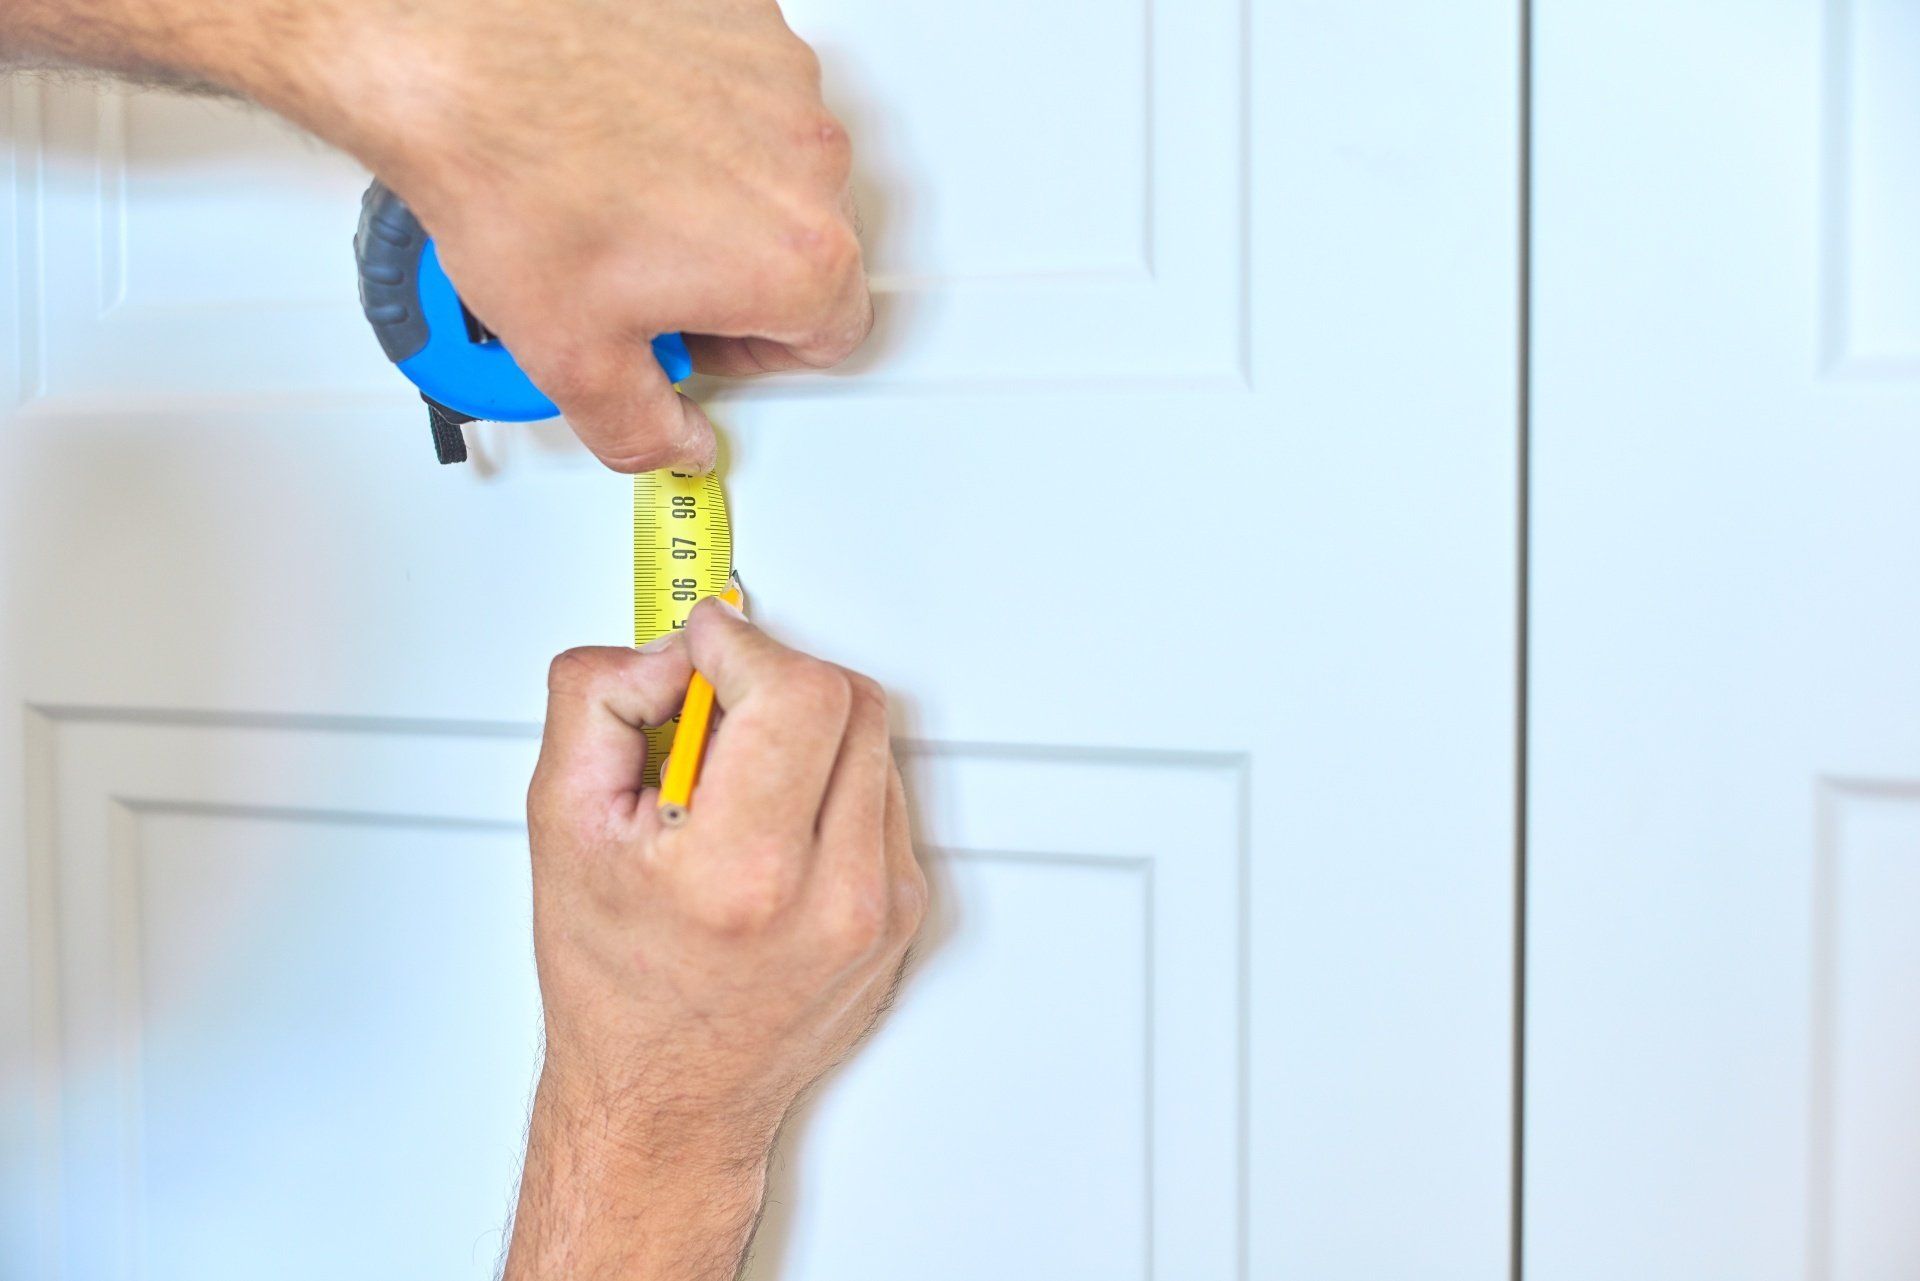
Step 2: Mark Drill Holes or Build Jig
Place a template from a hardware-installation kit against the edge of the cabinet, and make a pencil mark in the template's holes that correspond with your kitchen cabinet handles.
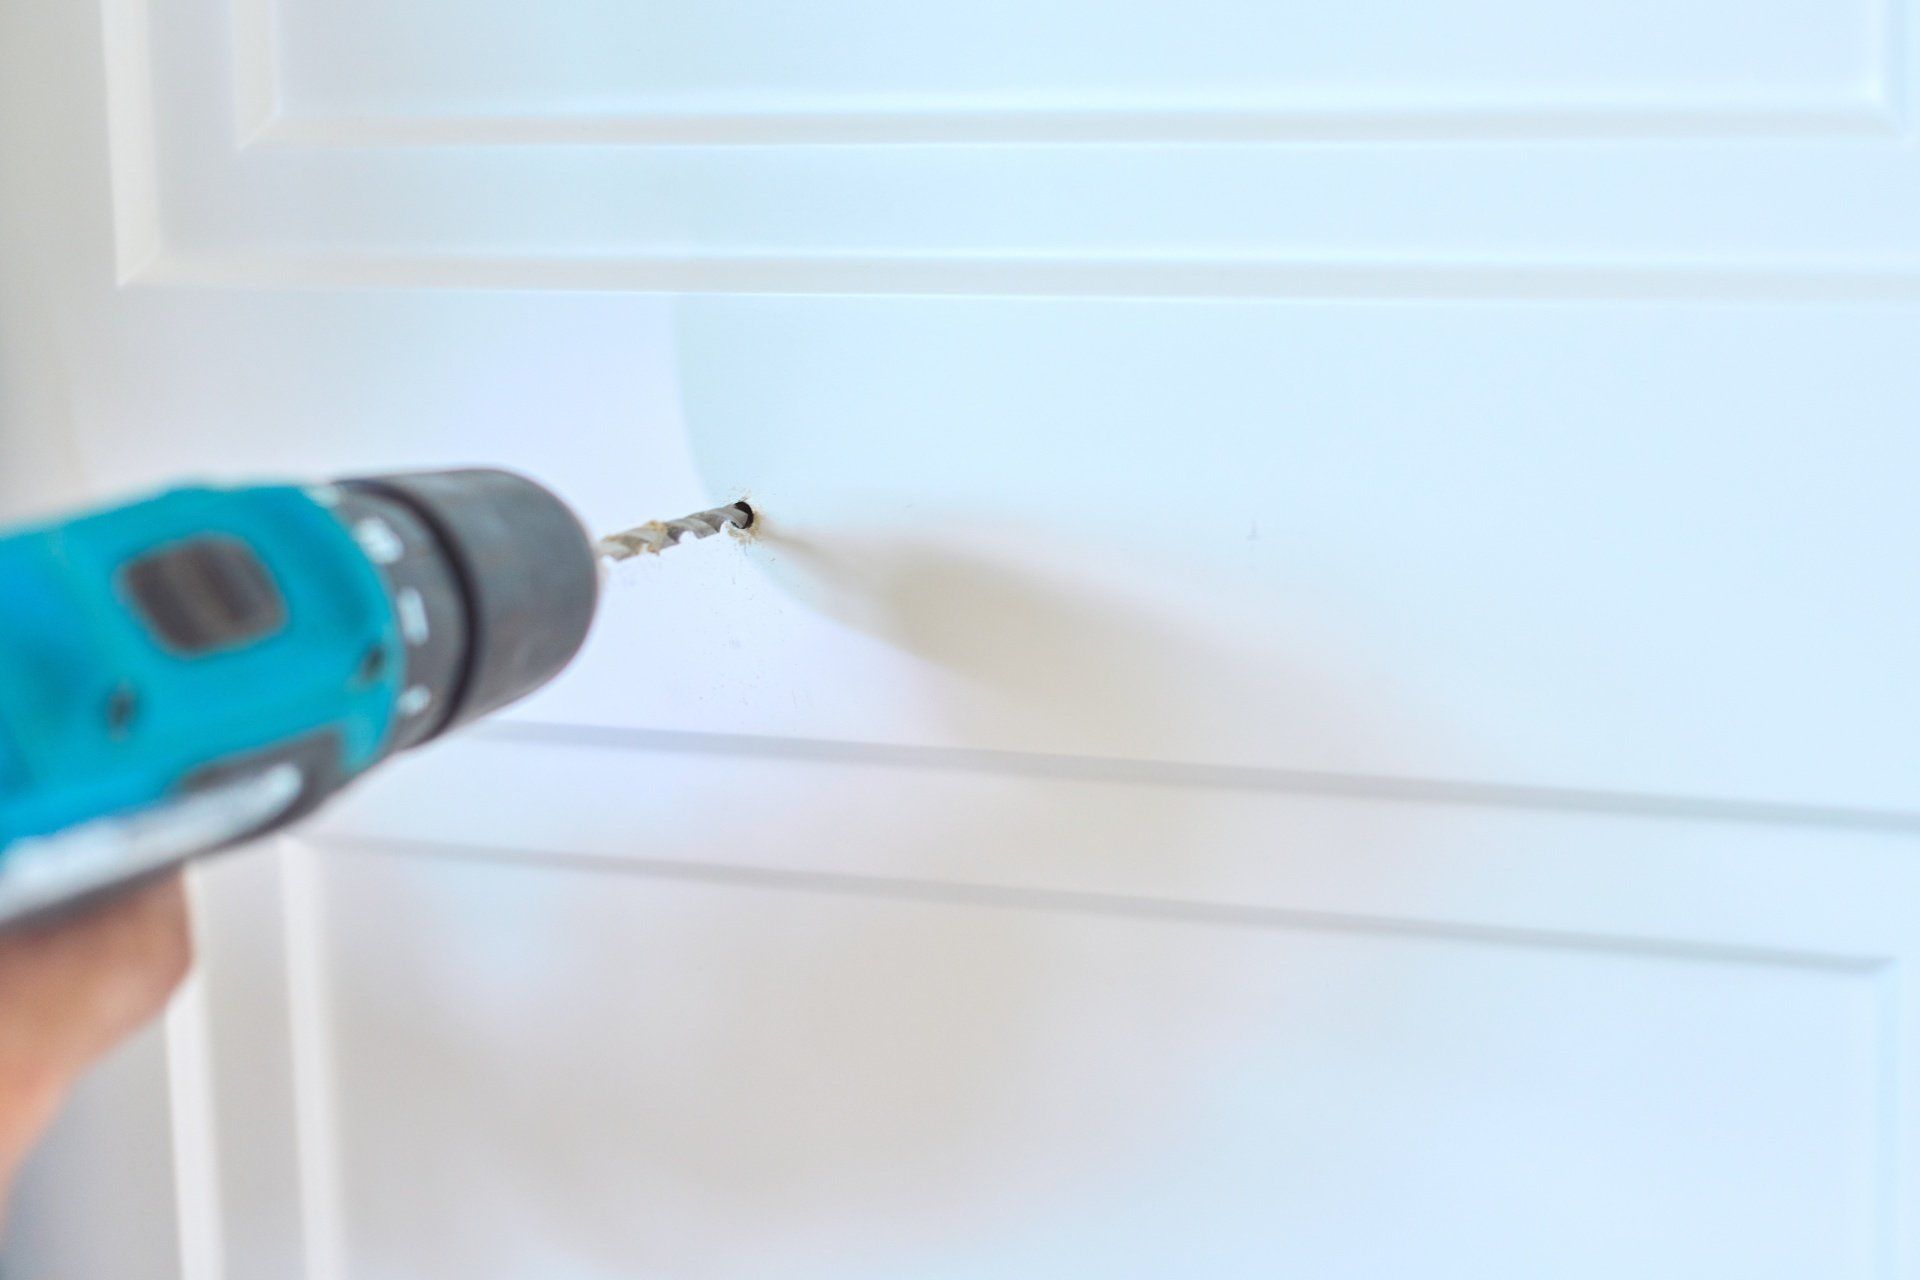
Step 3: Drill Pilot Holes
Attach a drill bit that corresponds with the size of your handle's screws. When determining the size drill bit to use for your pilot hole, select a bit that matches the inner diameter of the screw you'll use to attach the hardware.
If your pilot hole is as wide as your screw is with the threads, the screw won't be secure.
Carefully drill into the pencil marks, making sure you don't slip and damage the cabinet. If you're using a homemade jig, line it up with the cabinet corner and drill through the template hole and the cabinet door. Be sure to use steady, even pressure.
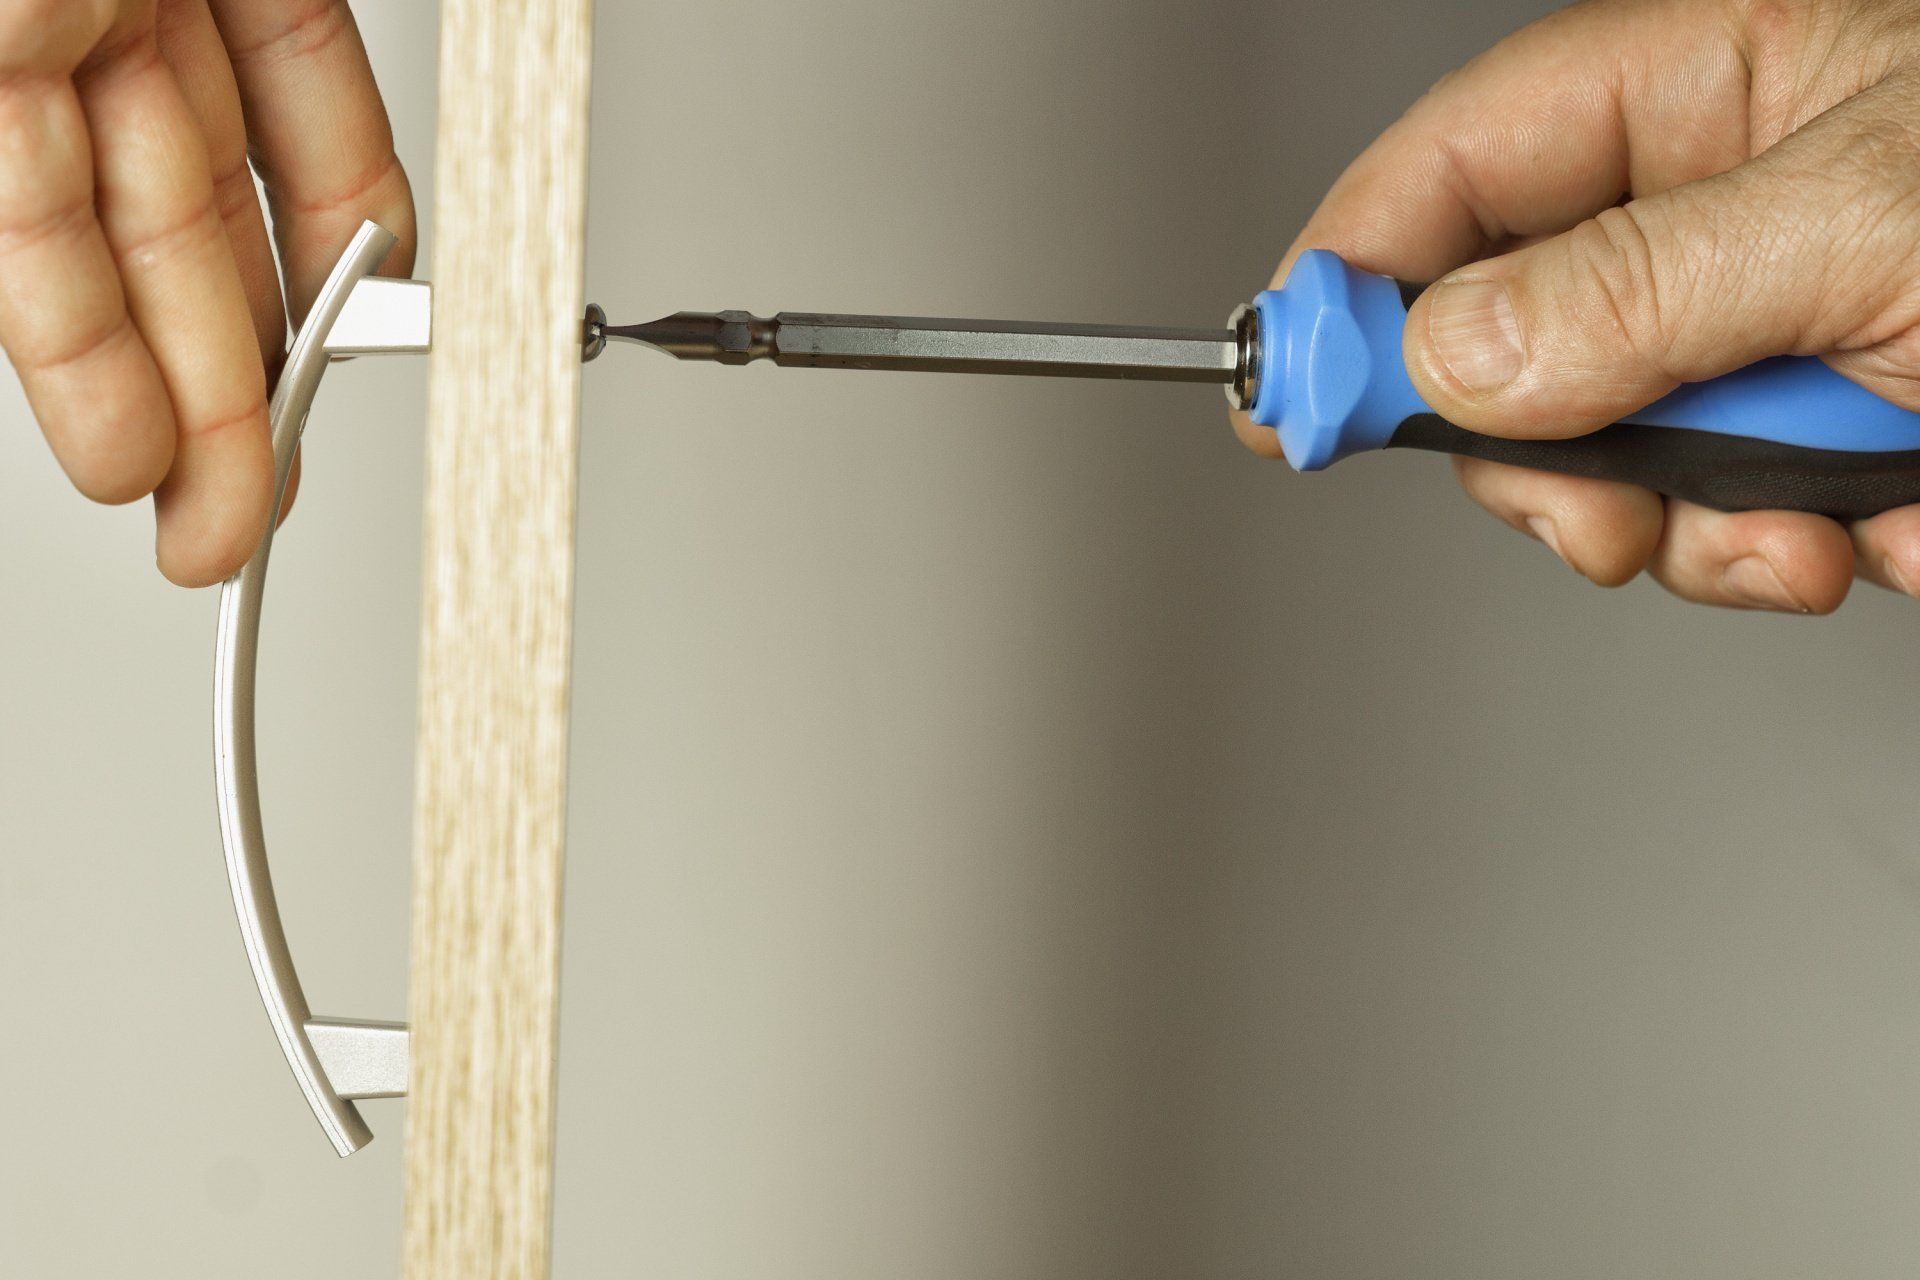
Step 4: Attach New Hardware
With your holes already predrilled in the cabinet doors, simply line up your new hardware with the pilot holes on the front of the doors and secure into place with screws from the back.
Use a screwdriver to tighten the screws. Repeat this process for each piece until they are all attached. Enjoy your new kitchen cabinet hardware!
Let Us Do the Work
Do these steps sound enticing but you just don’t have the skills or the time? Let us do the handy work for you!
Spend more of your time enjoying your home and less time working on it. When you’re ready to install new cabinet hardware, be sure to connect with us.
Need a Handyman in Alpharetta GA?
Give us a call!
We also provide handyman services for the
Lilburn,
Suwanne,
Buford,
Lawrenceville,
Duluth,
Norcross,
Stone Mountain,
Gwinnett County,
Cumming,
Roswell,
Johns Creek,
Dunwoody,
Sandy Springs,
Buckhead,
Midtown, and
Brookhaven.
You might also like
The Handyman Home Repair Blog